HomeTechHow to Automatically Update Blog Footer Years With (Html...

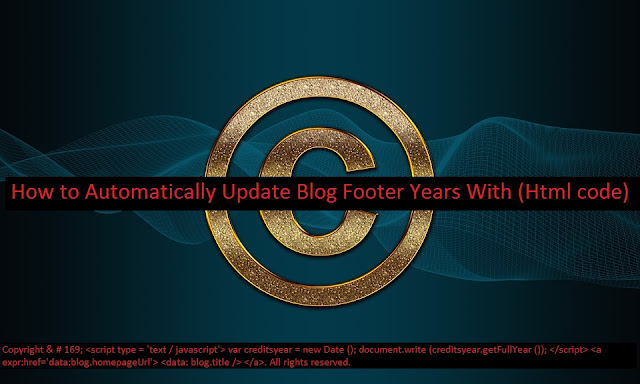
How to Automatically Update Blog Footer Years With (Html code)

Automatically Update Blog Footer Years every year no need to change your blogger footer setting just chill install this script code in your blog then no need to update your year every year.
We have entered the new year 2020 AD. We have to change the copyright year in the footer from 19 to 2020. That is if our blog template does not use a script that changes the copyright year automatically.
What is the year of copyright? You know … in the footer of this blog, it says Copyright (c) 2020 your blog name. All rights reserved.

How to Automatically Update Blog Footer Years With (Html code) 1


Well, if you put that year manually, yes … also manual how to change it. So, every year, you have to change it too, to be up to date, right?

If you don’t want to bother changing the copyright every year, then with a simple code, you don’t need to bother editing the HTML template to change it every year. This code will automatically display the current year, without having to edit the template.

How to Automatically Update Blog Footer Years (Html code)

If the copyright code in the footer of your blog is like the code below, of course, it does not have to be changed again.
 
If the code is normal, for example like this:
1: Copyright <a href=”URL-BLOG”> Blog Name </a>. All Rights Reserved
2: Copyright <a expr:href=’data:blog.homepageUrl’> <data: blog.title /> </a>. All Rights Reserved
 
Then, delete the code as above, then replace it with the following code:


If you want to delete the link in the blog name (link to the front page or blog URL), then this code is used:

How to update Blog footer year automatically

  • Template> Edit HTML
  • Look for (Ctrl + F) the “Copyright” code (usually at the bottom)
  • Make sure the code is like the code above. If not, replace (replace) with the code above.
  • Save Template!
after this setting, your website footer year changes automatically every year. if you change your template then you need to install again this Html code.
so i hope our article helps you to solve your problem if still you facing any errors just leave a comment down below i will give you a response, on how to solve it.
 
also read:
Haider Jamal Abbasi
Haider Jamal Abbasihttps://www.iamhja.com/
Hi, i am Haider Jamal Abbasi and founder of iamhja.com. Since 2016 I am doing freelancing, I love to write about the latest trending topics and share with you informational articles... Any Questions? and Issues? Contact me

LEAVE A REPLY

Please enter your comment!
Please enter your name here